We think everybody should know how to pickle vegetables! There’s something wonderful about being able to preserve your leftover vegetables for future use, rather than letting them go off, rot and go to waste. In today’s eco-conscious world, pickling is a tradition that needs to come back into fashion – and quickly! As well as learning how to pickle vegetables, we’ve also come up with some ingenious ways that you can upcycle your empty pickle jars and turn them into beautiful ornaments for your home.
A Short Guide On How To Pickle Vegetables
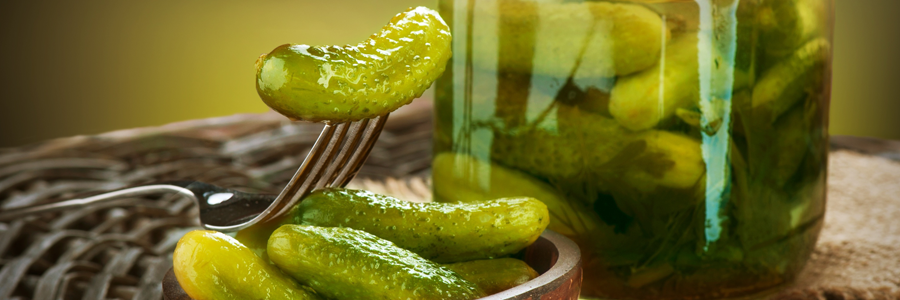
Pickling is a preserving method that dates back to around 2400 BC! Nowadays we’ve now got high tech fridges and freezers that help us preserve our food for much longer than we could 4,000 years ago, but the old method of pickling also adds zingy new flavours to your vegetables, giving mouthwatering tanginess when added to your salads, sandwiches and meat dishes.
The most common foods to pickle are eggs, onions, cucumber (gherkins) and cabbage (sauerkraut), but there is a whole world of possibilities out there! Apples, carrots, radishes, berries… they all taste delicious when pickled.
Some delicious pickle food pairings include: pickled grapes as part of a cheeseboard, pickled cabbage on top of a hot dog, pickled eggs in salad and pickled beetroot slices in a steak sandwich.

So how can you learn how to pickle vegetables quickly at home? There are plenty of different methods out there online, but they all boil down to a few easy steps which we’ve compiled below so you can easily digest it.
- To start with, you need to peel and wash the fruit or vegetables you want to pickle, then cut them into slices or chunks. The more surface area the food has, the more of the pickling brine it will be able to absorb.
- To make your brine, you will need a mix that consists of around two parts water, two parts white vinegar, and one part sugar. You can also take the opportunity to add some herbs and spices at this point, such as salt, that you feel can further add flavour to your fruit or veg.
- Boil your brine in a saucepan, stirring until the sugar and salt has dissolved.
- Place your food into a large glass pickle jar, then pour your brine in until all the fruit and veg is covered.
- Seal tightly and place in the fridge to chill and ferment.
- After 24 hours, your pickle will be ready to eat, but you can keep them stored for up to 2 years (unopened), depending on the amount of salt you’ve used. The longer you leave your vegetables to pickle, the more flavourful they will be.
It’s that easy!
Upcycle Your Pickle Jars
Pickle jars are not only useful for preserving food, they can also be turned into stylish statements for your home. Even if you do still use them for storing pickles, you can even create eye-catching displays on your kitchen countertops or shelves, with brightly coloured pickled vegetables towers or pyramids! However if you want to get really creative, there are plenty more uses for empty glass jars.
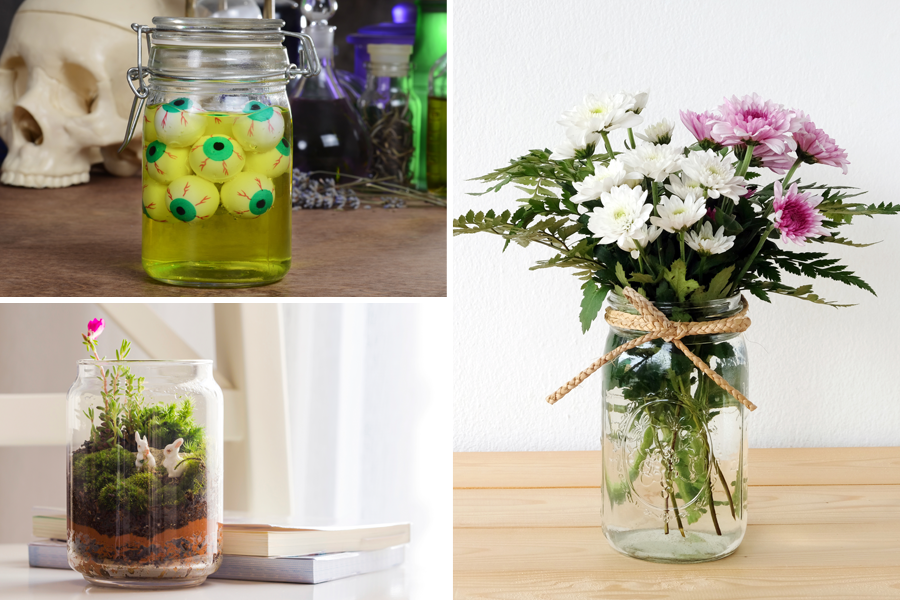
As it’s coming up to Halloween, a seasonal way to upcycle your jars is to create spooky decorations. You could fill with floating eyeballs, as seen below, or use them to serve creepy cocktails to party guests.

For a more permanent feature, one of our favourite things to do with glass jars is to turn them into vases or terrariums. It’s a brilliant way to bring some of nature indoors, and will make your bedroom, kitchen or living room look twee and homely. Making the vase is pretty self explanatory: simply place your cut flowers into it and top up with water. We love the idea of adding a string or bow around the neck of the jar to add colour and stylish flair, or you could even paint your jar to the colour you desire.
A terrarium is a glass container that contains soil and small plants, but is kept indoors as a decorative or ornamental item for your home. They can be as big or as small as you would like! Small terrariums, such as those created inside glass jars, are absolutely perfect for people who live in a flat without access to a garden, but who want to still be able to experience nature. To make a terrarium in a glass pickle jar, you will also need: gravel, activated charcoal, terrarium plants, sterile potting mix, moss and decorative elements. First place a layer of gravel at the bottom of the jar, which will act as drainage to make sure that your plants do not take on too much water. Then add a slightly thinner layer of activated charcoal, followed by a thick layer of your potting mix. Using a spoon or your fingers, create holes in your potting mix that are big enough to plant your terrarium plants. If your jar has a small neck and you can’t get your hands in there, then use chopsticks or long tweezers to do this and then place your plants and bed them in. Finally, you can then add any other decorations that you wish in there to tailor it to the design of your home.
Let There Be Light
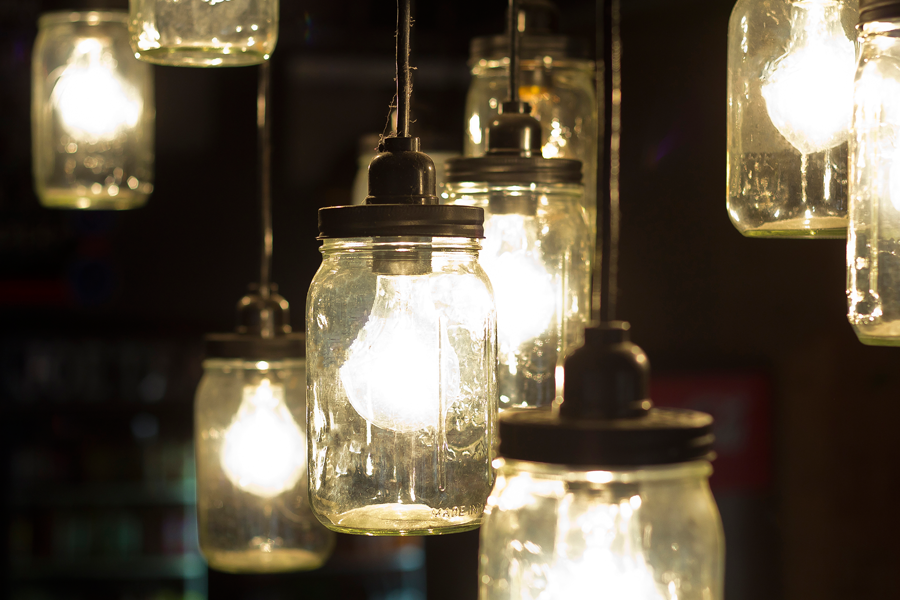
One of our favourite (but more advanced) ways to upcycle an old pickle jar is to turn it into a stunning old fashioned hanging light, like the ones shown in the photo below. This style is really on trend right now, with many interior designers and homeowners opting for the Thomas Edison look! Instead of paying out for ready-made, expensive hanging lights, why not have a go at creating the look yourself and saving money?

You will need some DIY skills to create this hanging masterpiece, but as long as you have: a light bulb fitting that comes with thread attached, a nail, a hammer and paint (if you want to paint the light fitting the same colour as your jar lid). The first step is the trickiest, as you will have to create a hole in the jar lid that the light fitting can be inserted into. Use the hammer to nail a circle of tiny holes into the centre of the top of the lid, then go back around and create a hole in-between every hole you have made, until you can use the hammer to hit out the circle. Then add two extra holes either side of the big hole that you’ve just made, which will allow the hot air to escape the jar once the light is in use. Place the fitting into the hole and screw the light bulb into the fitting. You may need to use glue or tape to secure the fitting into place, if you haven’t been given a bottom screw for your light fitting. Finally, screw the lid onto the jar and voila! You now have your own homemade, on trend light fitting that will look fantastic in your bedroom, kitchen or even living room. This tutorial was found on Woonblog.
A Pickle Jar For Every Occasion
If you are learning how to pickle vegetables, you are going to need some pickle jars! Here at Ideon, we’ve got a wide selection of jars that are ideal for pickles and all the DIY, upcycling projects above. Our jars all come with the option to buy with or without compatible lids, so you can save some money if you are just looking for jars, or choose from a variety of colours of you do need lids. The three jars shown below are just a small selection of what we have to offer, so make sure to have a look at the full range on our website.

For those working to a tight budget, then our 720ml Budget Glass Jar is a great choice. It’s the largest jar in our budget collection, but don’t think that this means low quality! It has a wide neck to make filling and dispensing easier and is compatible with our 82mm twist off lids. It’s a great starter jar for those who are just learning how to pickle vegetables. If you’re after a jar with a much bigger capacity, then look no further than the Large Half Gallon Glass Jar. It’s ideal for kitchen displays, as well as looking perfectly at home propping up the bar with pickled onions at your local boozer! Finally, we have our 1.5L Le Parfait Glass Jar, which is a traditional hinged lid jar that comes with a distinctive orange rubber seal. These jars are available in sizes ranging from 500ml up to 3 litres, all featured a stylish embossed Le Parfait logo.

